Glossiness map is a texture used in architecture to control the brightness and reflective aspect of a surface. It is commonly used in conjunction with other maps, such as the diffuse map and reflection map, to create more realistic and detailed materials in 3D models.
It is typically represented by grayscale tones, where brighter areas indicate a shinier and more reflective surface, while darker areas indicate a more opaque and less reflective surface. This map is used to control the specular reflection of the surface, which is the reflection of direct light on a polished or shiny surface.
By applying it to a 3D model, it is possible to control the appearance of materials such as polished metals, glossy plastics, or varnished surfaces. Furthermore, when combined with other maps, it simulates the appearance of a reflective and shiny surface under different lighting conditions.
1- Open the Base Map and perform the following steps:

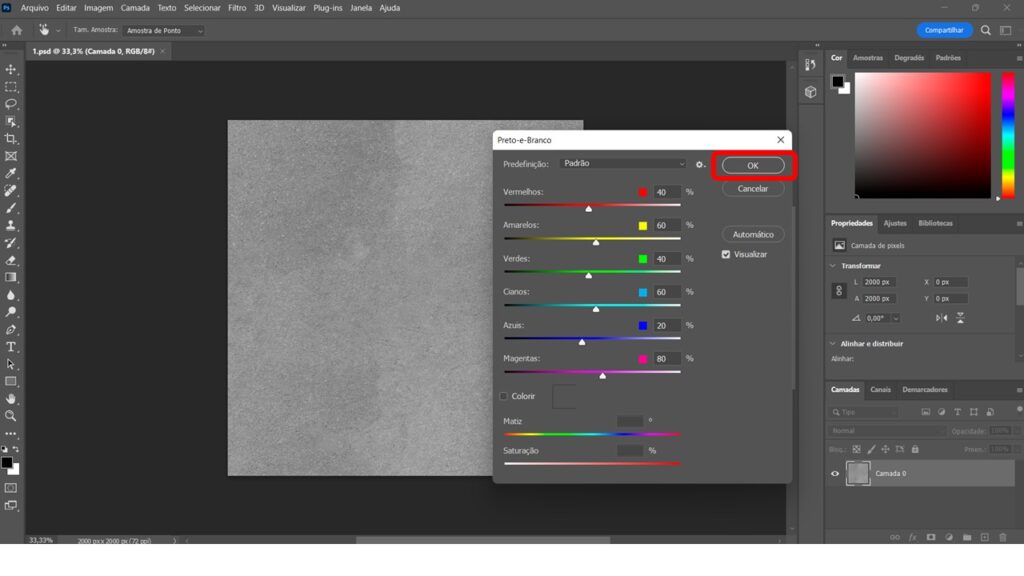
2- Glossiness Map -Unsaturate the image
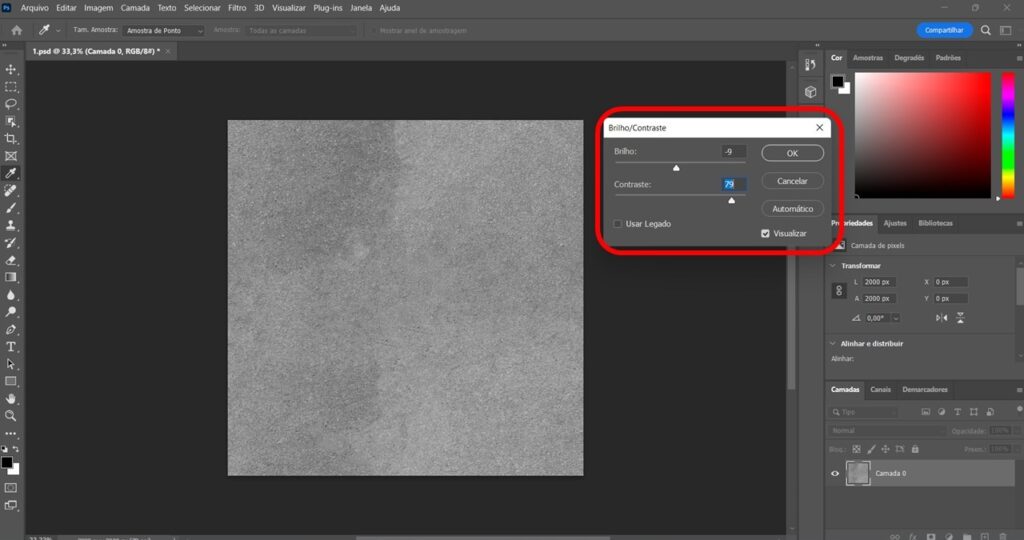
3- Glossiness Map – Now adjust brightness and contrast


id you like the content? Follow more about, see the next blogs!
- Texture maps understand how they all work together!
- What is an interior project?
- What is an Interactive PDF in a file?
- CoronaCam: Know the parameters of a camera!
- Archviz – Camera Effects or Defects and How to Use?