

To create the effect of movement on an object in Photoshop, it’s very simple!
Sumário:
Just follow the steps below:
1- Open your image in Photoshop and select the layer of the object you want to apply the motion effect to (you can do this using the “select object” option).
2- Go to the “Filter” menu in the top menu bar and select “Motion Blur”.
3- In the filter options window, you will see a line with a point in the middle that represents the direction of the motion. Drag this line in the direction you want the object to appear to move. In this case, as in the video below, we left it at 0 to make the motion trail straight.
4- Adjust the “Distance” to control the amount of motion blur. The higher the distance, the more blurred the motion effect will be. In this case, we used 25.
5- Click “OK” to apply the motion blur filter to the object layer.
See this step-by-step in the video below:
6- If you wish, you can adjust the opacity of the object’s layer to further soften the movement effect.
7- Save your image with the new motion effect applied.
And the difference with this effect applied would basically be this:

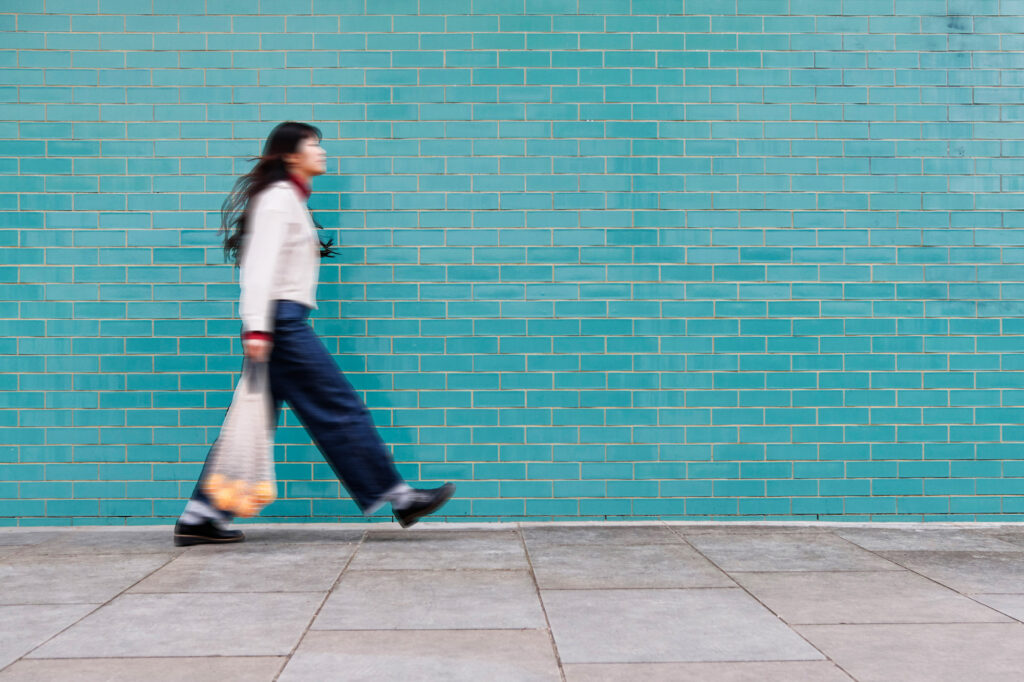
Keep in mind that the motion effect will only work well if the image has a relatively static background and if the subject you are blurring has natural movement that can be easily recognized, such as people walking or a moving car.
It is worth applying this effect to your images, as it adds more realism to the photo in your final result!
Do you like the content? Follow more about, see the next blogs!


Somos um escritório de Arquitetura e Design de Interiores REMOTO que surgiu em 2023 do desejo de eternizar memórias e experiências com pequenos detalhes que fazem toda a diferença.